In Barcode Manager for Business, you switch between three screens in the tab at the top of the app.
“Reader” screen
 “Reader” switches to the barcode reader screen.
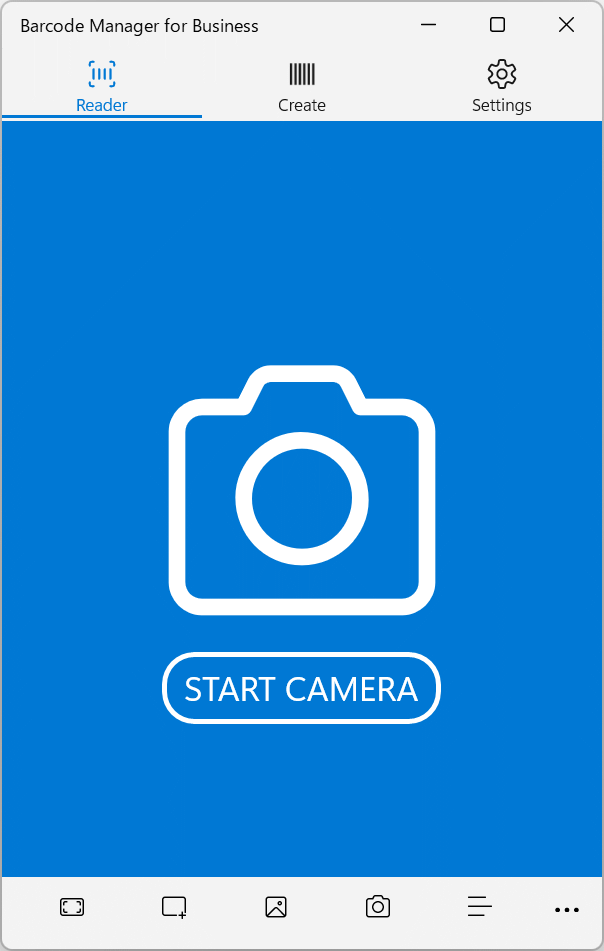
Depending on the reading method you want to use, use the button at the bottom of the app to read.
 (Camera) reads using the camera.
 (Scan) reads the barcode displayed on the PC screen.
 (Clip) reads the barcode displayed on the PC screen.
 (File) reads the barcode in the image file.
 (History) displays a list of reading history.
For more information on how to use it, see:
4.1.1 Reading barcodes with a camera
4.1.2 Reading barcodes with a device
4.1.3 Reading barcodes displayed on PC screens (Screen Scan)
4.1.4 Reading barcodes displayed on PC screens (Screen Snip)
4.1.5 Reading barcodes in an image files
5.1 History view
Check here for the types of barcodes that can be read.
“Create” screen
 “Create” switches to the barcode generation screen.
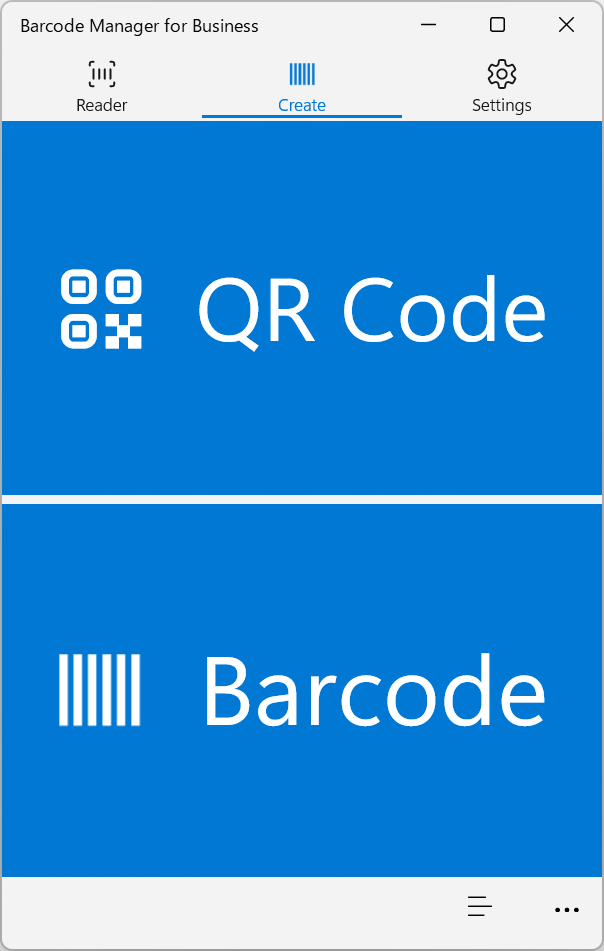
Depending on the type of barcode you want to create, click the button.
 “QR Code” creates a QR Code.
 “Barcode” creates a barcode other than a QR Code.
For more information on how to use it, see:
4.2.1 Create a QR Code
4.2.2 Create a Barcode
“Settings” screen
 “Settings” switches to the settings screen.
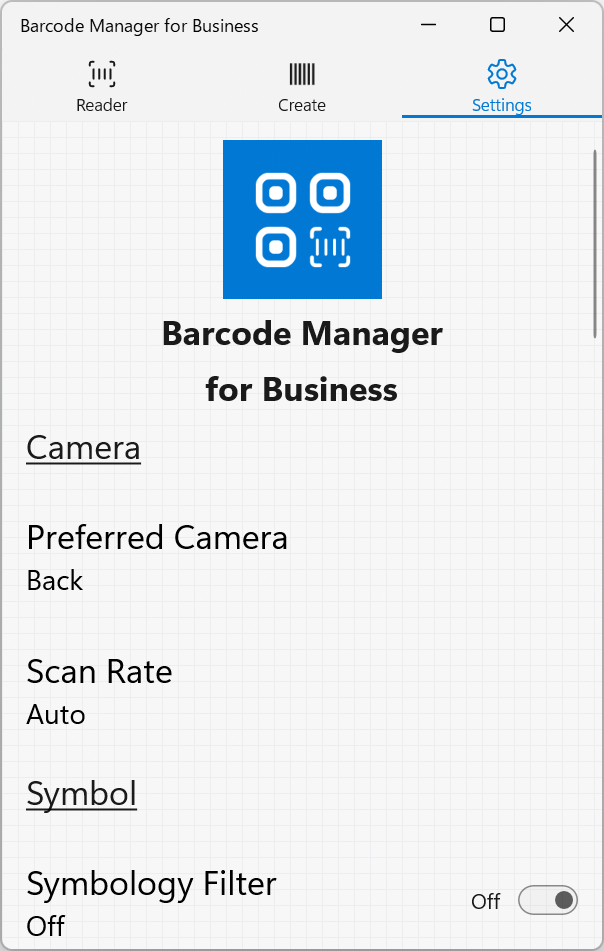
On the Settings screen, make the following settings.
Preferred Camera:
Set the camera to be used in the app.
Scan Rate:
Sets the scanning rate for camera reading.
Symbology Filter:
Set the type of barcode that can be read by this app.
Symbology Data Filter:
Set the barcode data pattern to be read by the app.
Symbol Timeout:
Set the read delay time for the same barcode.
Decode supplementals:
Set whether to read the UPC/EAN/JAN code supplements.
Actions:
Set whether to display a confirmation dialog to execute an action such as opening a link after scanning the barcode.
History:
Set whether to store scanned deta after scanning the barcode.
Clipboard:
Set whether to automatically copy the barcode data to the clipboard when the barcode is read.
Keyboard:
After reading the barcode, configure the settings for sending data to other applications using the keyboard.
Trusted hosts:
Manage hosts that allow you to open a destination without displaying a confirmation message when you read the QR Code of a web link.
Search Engine:
Set the search engine to use in the Search on web action.
Scan Speed:
Set the balance between scanning speed and accuracy.
Low Power Mode:
Sets whether the app should run in low-power mode.
Always On Top:
Sets whether the application window remains always on top.
UI:
Set the app’s user interface (UI).
Preview:
Set whether or not to try new features (previews) before they are released to the public.
Display language:
Set the language to display in the app.
License:
Register the product key to perform license authentication.
For more information on how to use it, see:
6.1.1 Preferred camera
6.1.2 Scan rate
6.2.1 Symbology filter
6.2.2 Symbology data filter
6.2.3 Symbol timeout
6.2.4 Decode supplementals
6.2.5 Reading action
6.2.6 History
6.3.1 Clipboard
6.3.2 SendKeys
6.4.1 Trusted hosts
6.4.2 Search engine
6.5.1 Scan speed
6.5.2 Low power mode
6.6.1 Always On Top
6.6.2 UI
6.6.3 Preview
6.7.1 Display language
6.8.1 Managing product keys
In addition to the above three screens, there is a “History” screen and a “Barcode Details” screen.
“History” screen
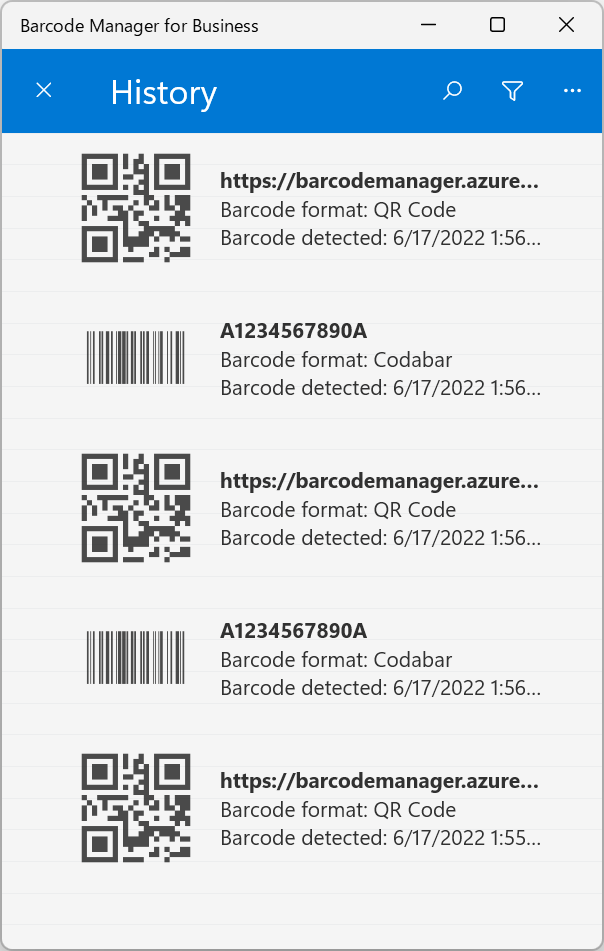
On the History screen, you can see the history of the barcodes you read (or created). You can filter by barcode format and data type.
You can also display barcode properties and attributes and take various actions for each type of barcode.
For more information on how to use it, see:
5.1 History view
5.2 Context menu
5.7 Export history
5.8 Clear history
“Barcode Details” screen
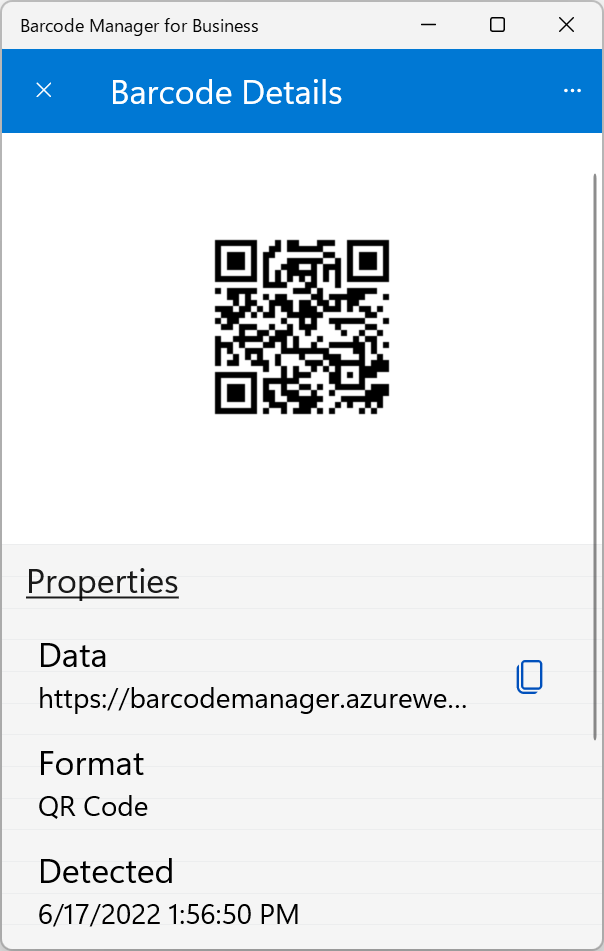
On the Barcode Details screen, you can see detailed information such as the data and format of the barcode you read (or created).
In addition, barcode images can be output to files and barcode data can be copied and shared. You can also record notes about barcodes.
For more information on how to use it, see:
5.3 Barcode properties and attributes
5.4 Copying and exporting barcode images
5.5 Copying and sharing barcode data
5.6 Add a description to a barcode